Location Setup
Set up multiple branches and their floor plan
With the Multi-Location feature, you have the capability to incorporate multiple businesses and their respective locations into your merchant account. Through grouping, you have the flexibility to synchronize account details – including customer information, gift certificates, packages, memberships, and points – across various locations. Additionally, you can extend the reach of your Branded App to specific or all locations, enhancing accessibility and convenience for your client.
Set up Business Profile
When you’re ready to get started with your free 30-day trial of Beahub or keep using Beahub, log into your business account on the https://agent.beahub.com/ website. To log into Beahub:
1. Visit https://agent.beahub.com/ using the provided username & password on your Welcome email
2. Navigate to Merchant detail page from the profile picture on the site’s top right corner
3. Update profile & contact information on Profile tab
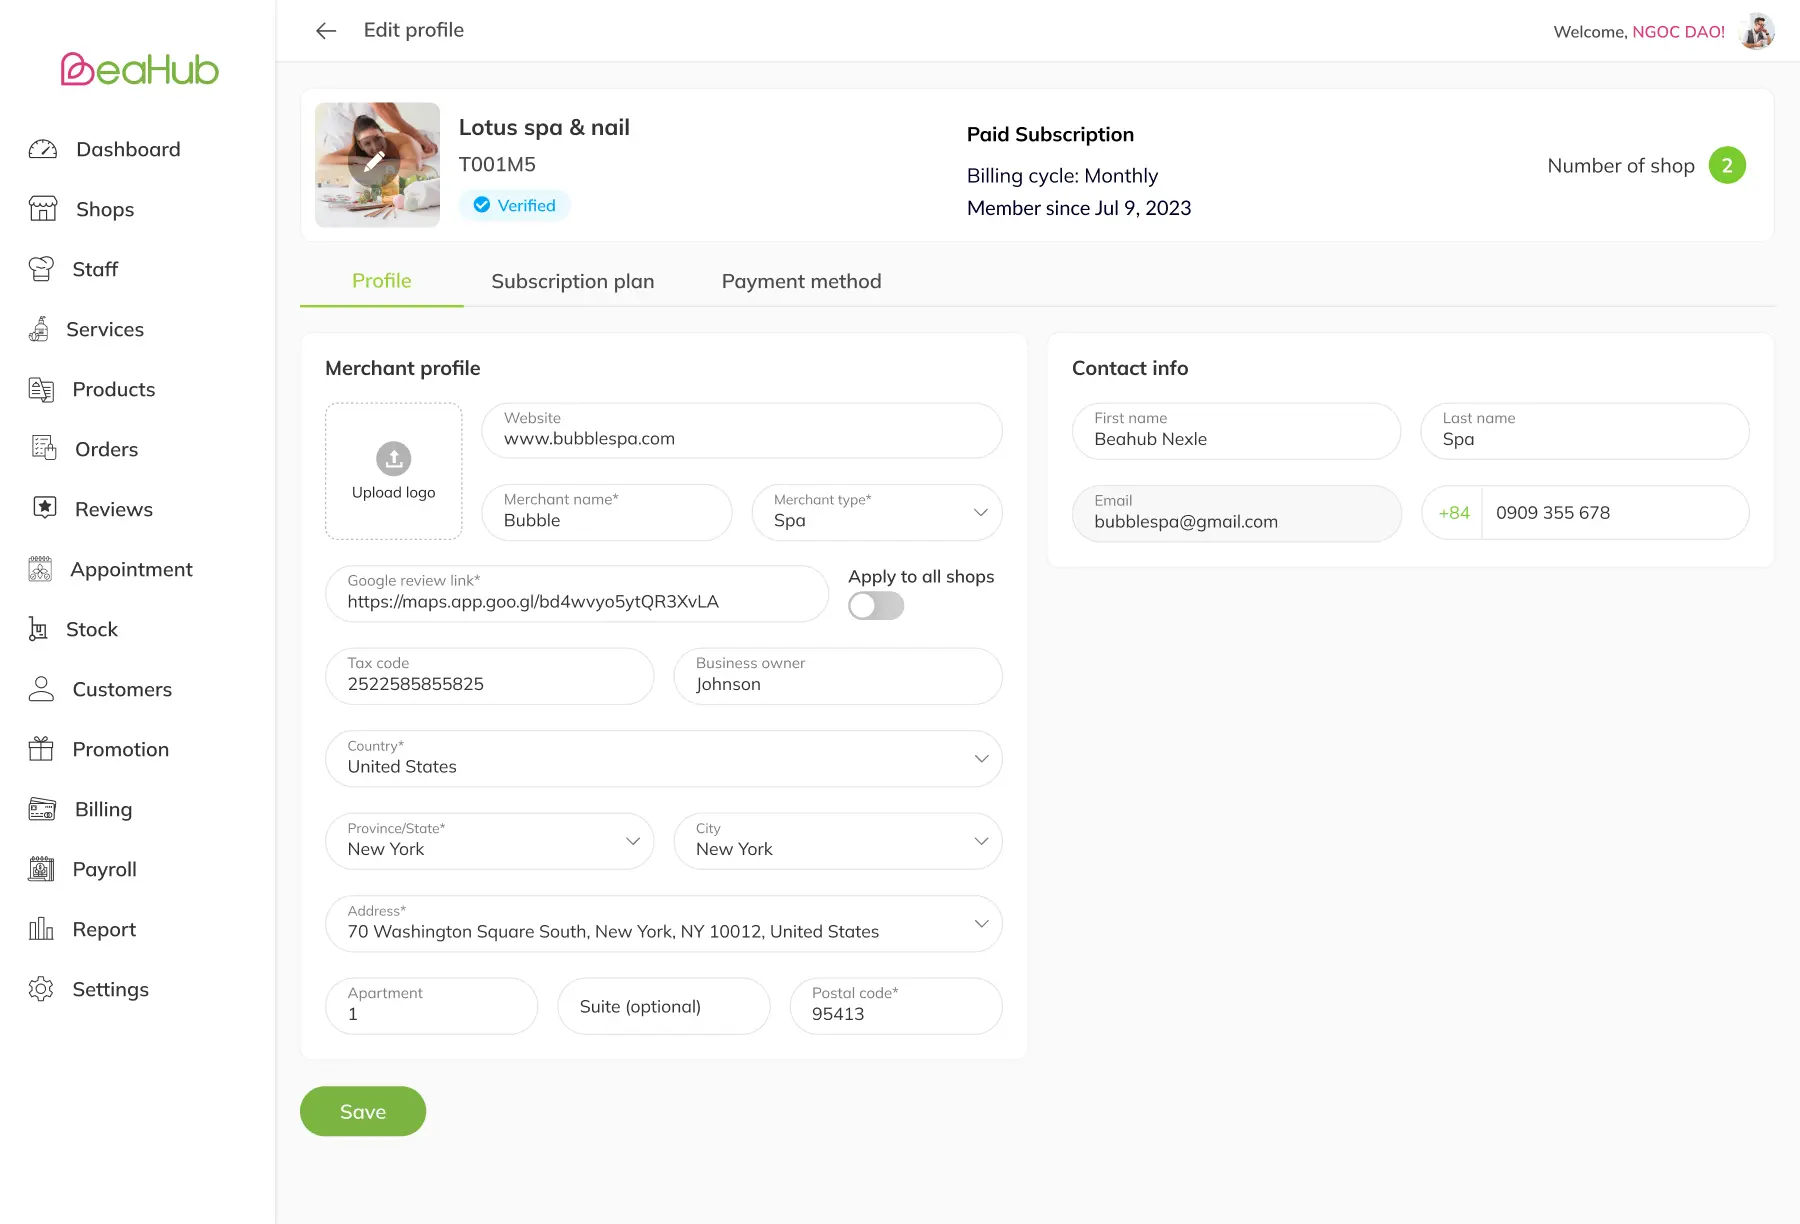
Merchant detail page – Profile tab
4. Review Subscription plan details of the merchant on Subscription plan tab
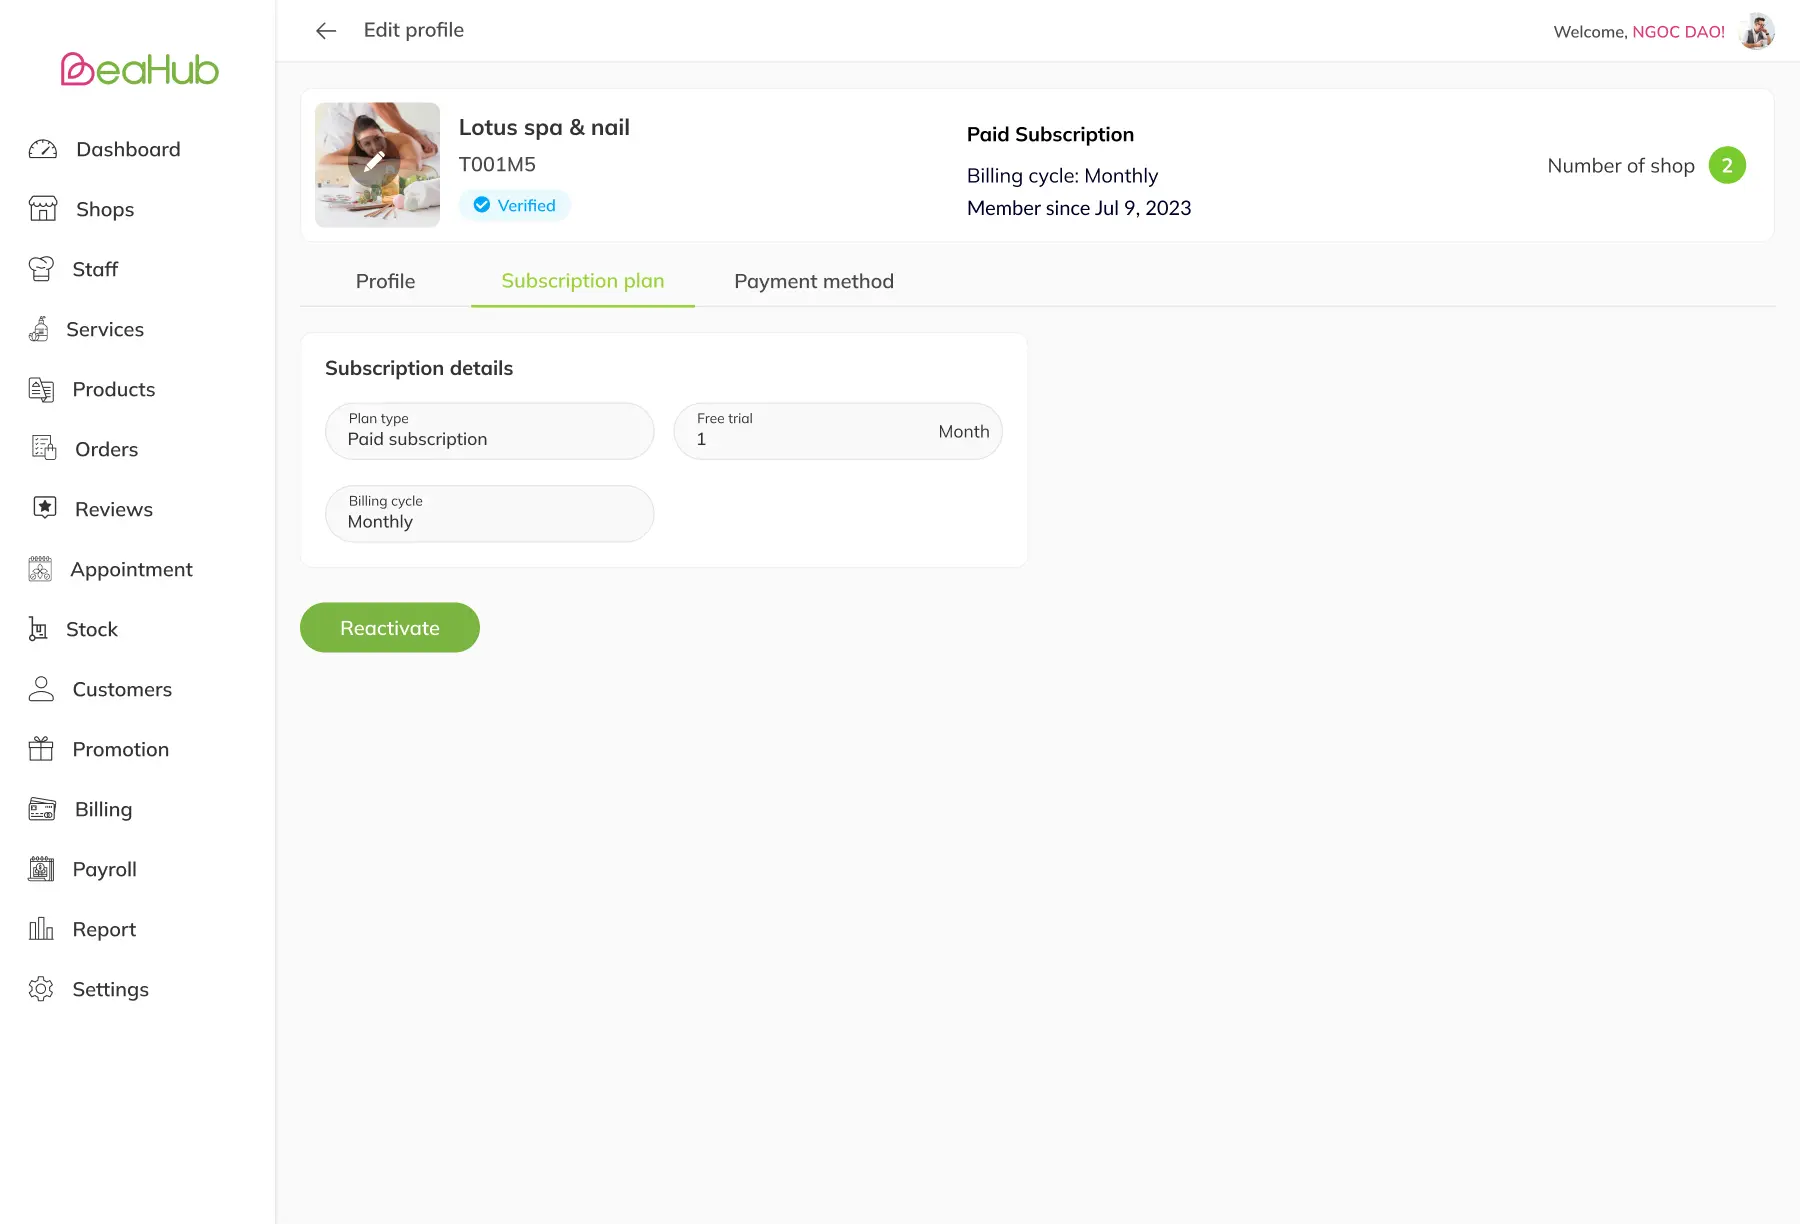
Merchant detail page – Subscription tab
Set up Shop’s operating hours
1. From navigation menu, locate to Settings page – Operating hours tab
2. On Opening hours section, click Add button or Delete button to add/remove opening date and time for the merchant
3. On Closed days section, click Add or Close button to add/remove closed date for the merchant
4. On Shift section, click Add/Close button to add/remove a new shift for the whole merchant
- In each shift section, click Add/Close button to add/remove a new shift by day for the whole merchant
Note: The shift by day should be matching with the opening date and time set up in the Opening hours section. E.g. Opening hour of Sunday is from 9am to 7pm, Shift 1 and 2 time range should be within 9am to 7pm.
Add New Locations
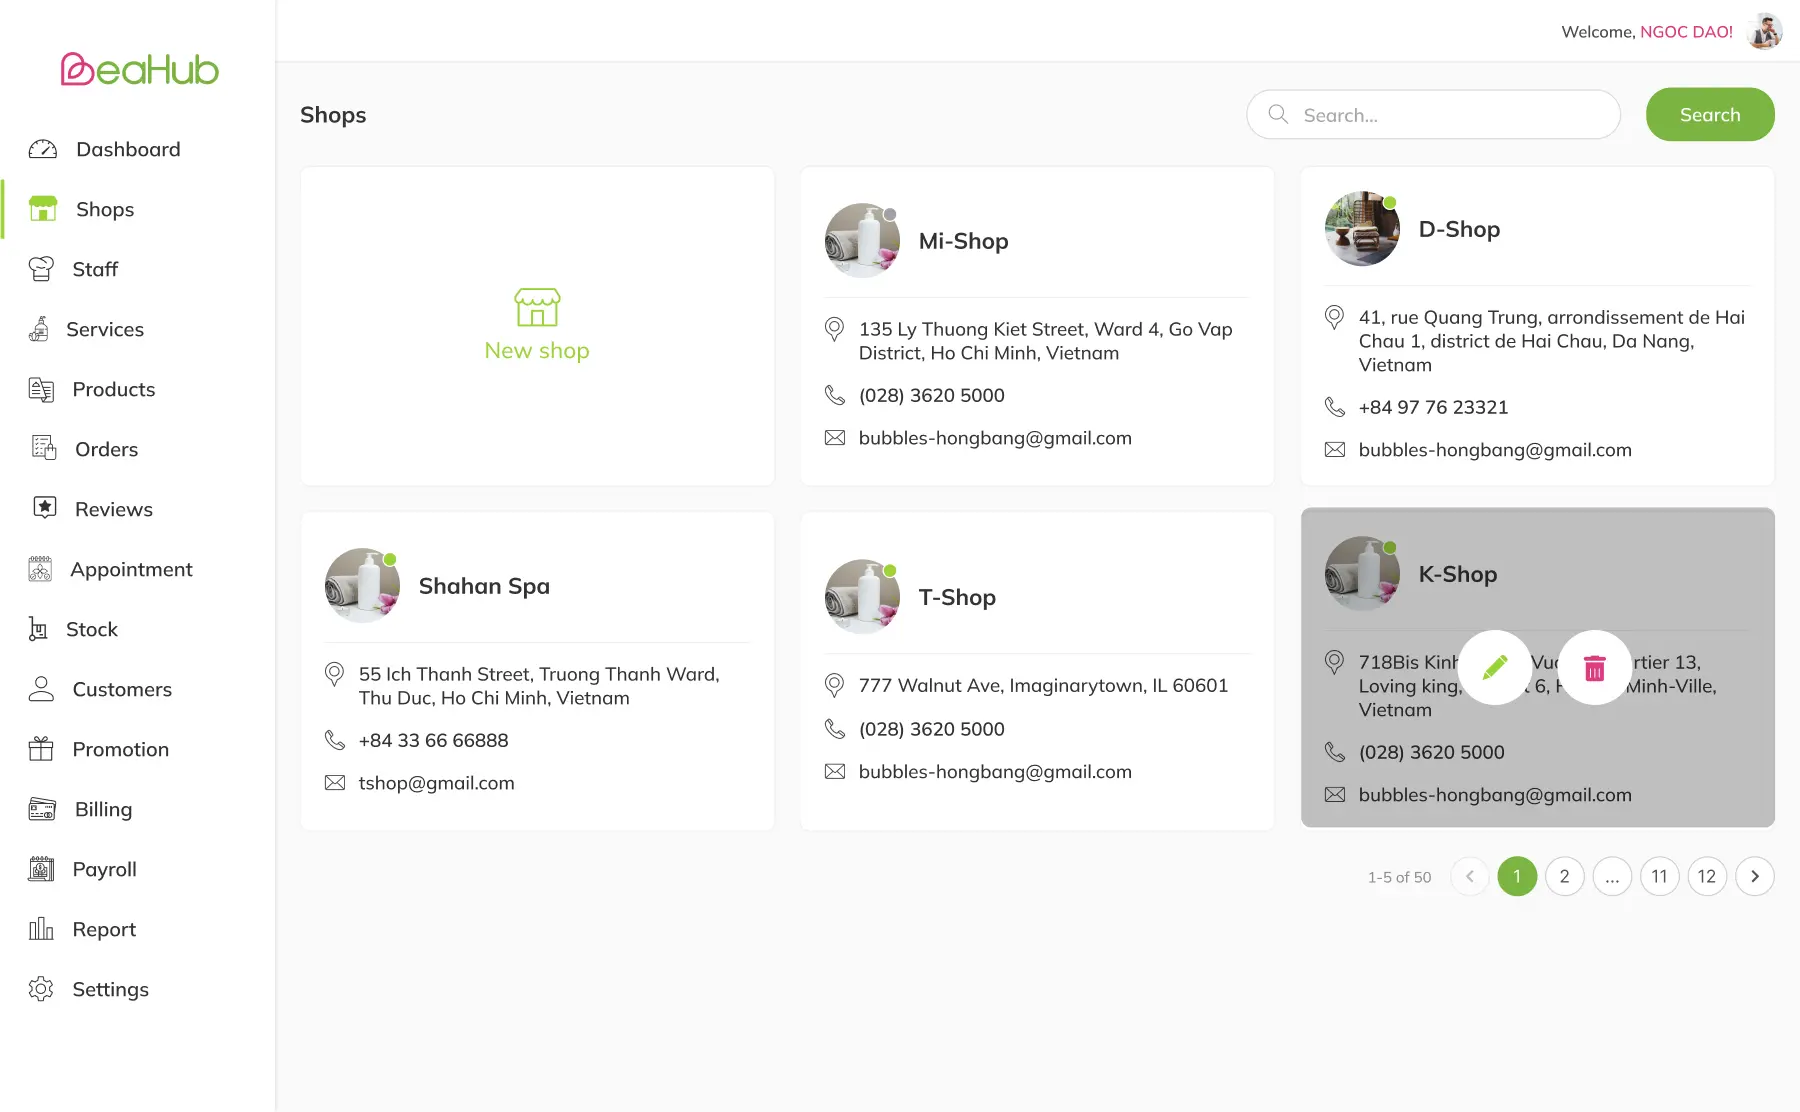
1. From navigation menu, locate to Shops listing page
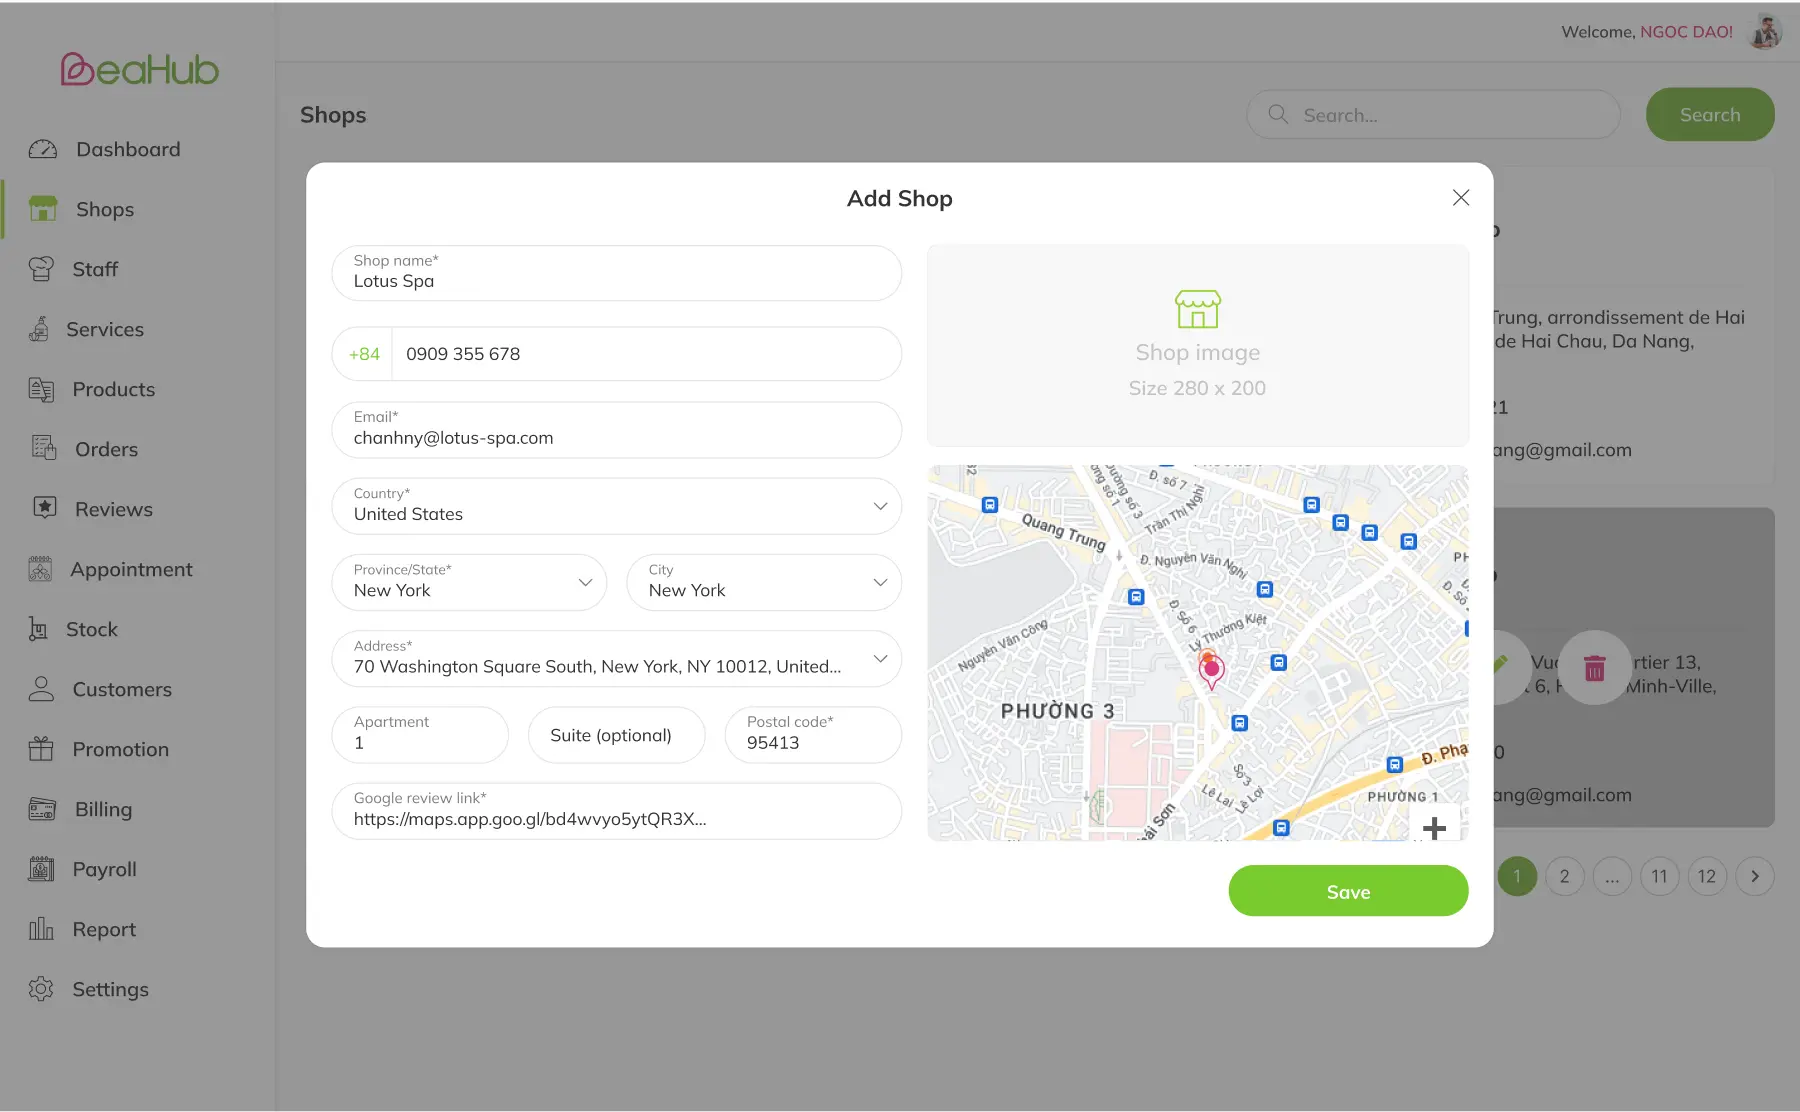
2. Click New Shop on the Shops listing page to open the Shop detail popup
3. Add shop information: photo, shop name, contact info, etc. then click Save to create a new shop/location
Edit Existing Locations
1. On Shops listing page, click Edit button on an existing shop to navigate to the Shop detail page
2. On the Shop detail page, click the Edit button on the top right corner of the page to edit shop information: photo, shop name, contact info, etc.
3. On Shop detail page, click Add button on Services tab to navigate to Service listing page then add/remove one or more services to/from the shop
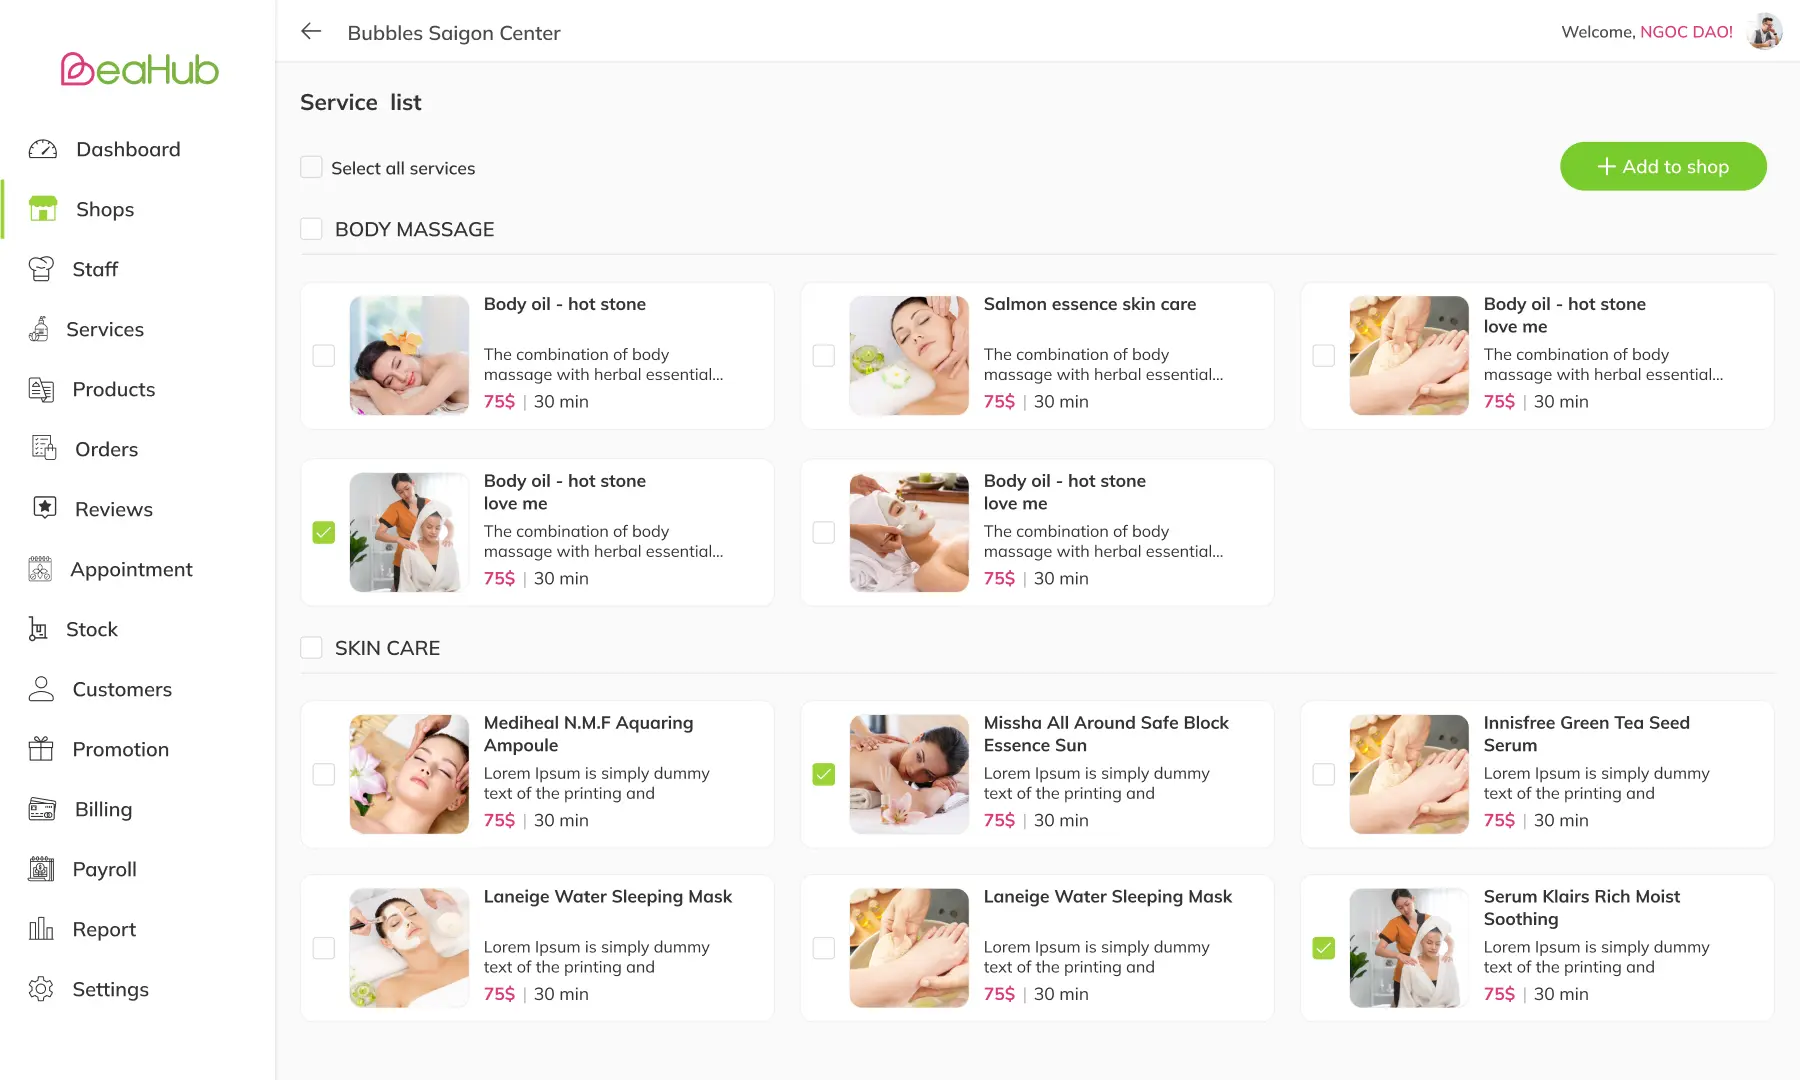
Adjust services to be added in a shop
4. On Shop detail page, click Add button on Products tab to navigate to Products listing page then add/remove one or more products to/from the shop

Adjust products to be added in a shop
5. On Shop detail page, click Add button on Combo tab to navigate to Combo listing page then add/remove one or more combos to/from the shop
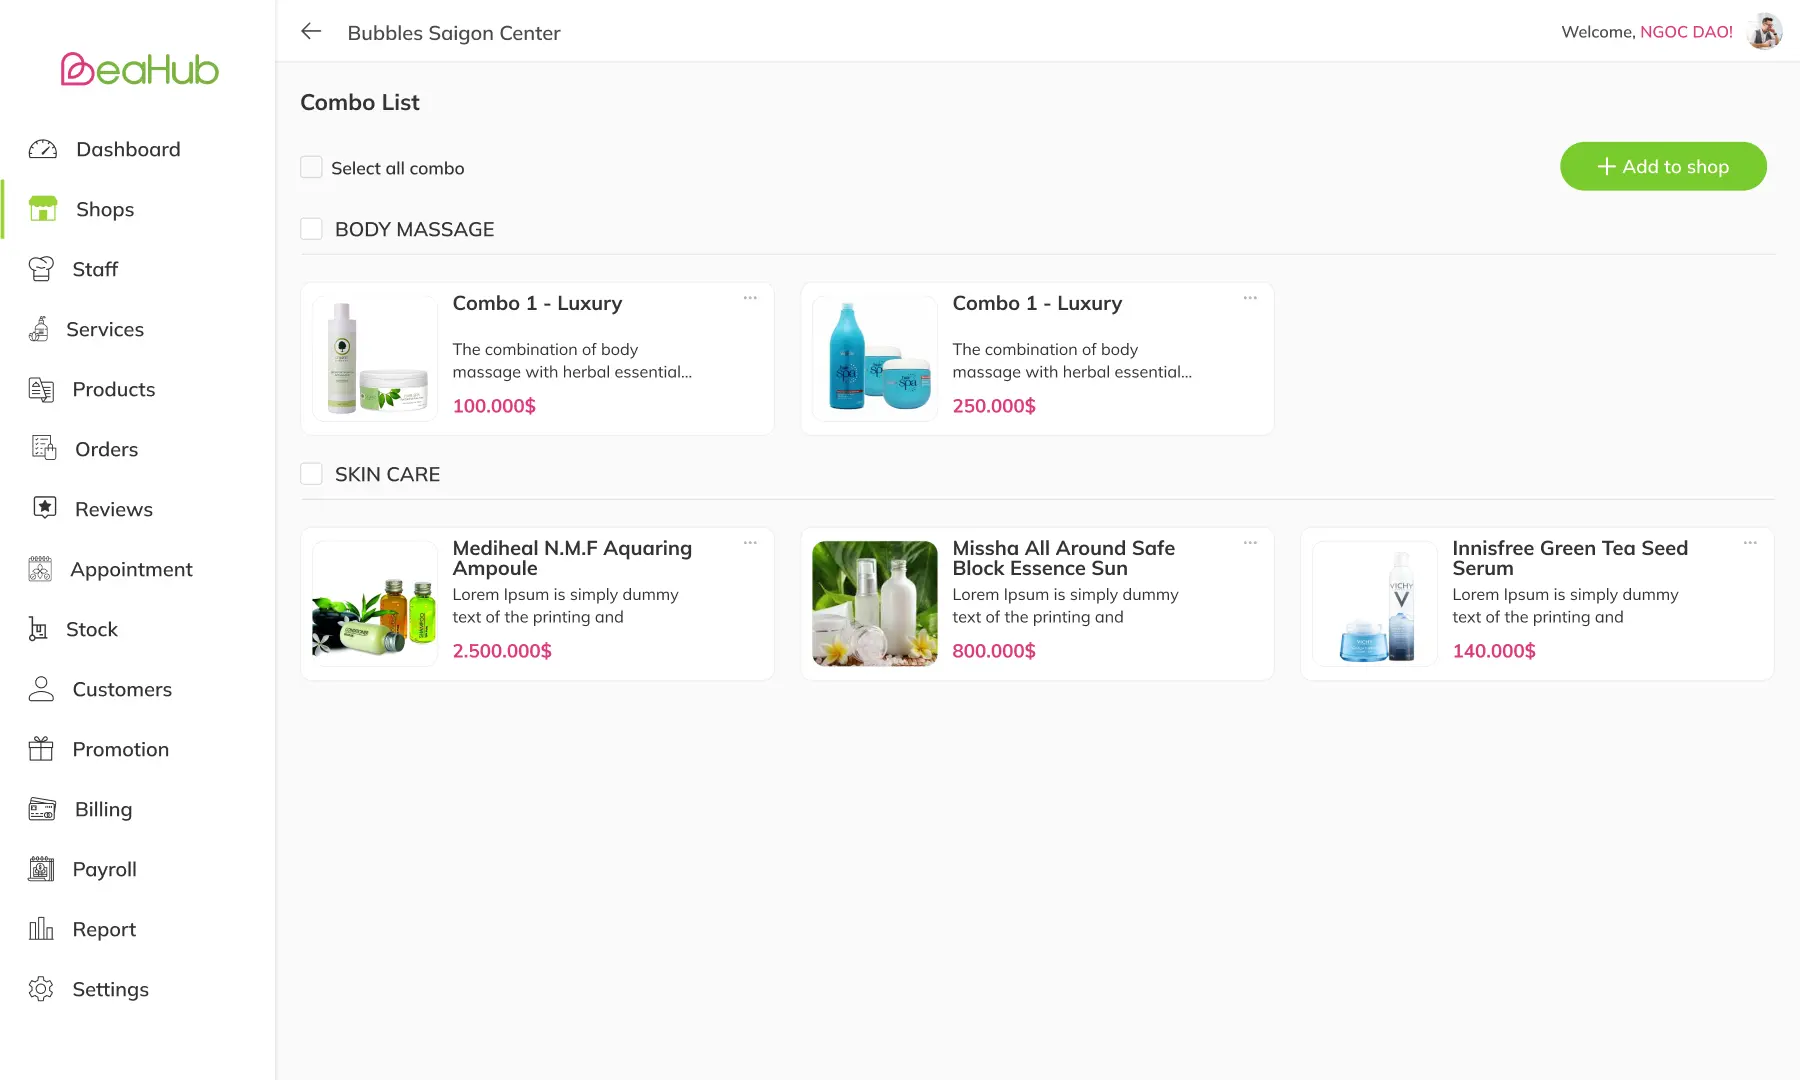
Adjust combos to be added in a shop
6. On Shop detail page, click Add button on Shop layout tab to open the Area popup and input area information (Area name, width & height)
- After creating the area, click the chair or bed to add to the area & adjust facilities’ positions if needed
- The position of facilities will be then displayed on Dashboard page of Business app on Tablet (mostly used by shop managers)
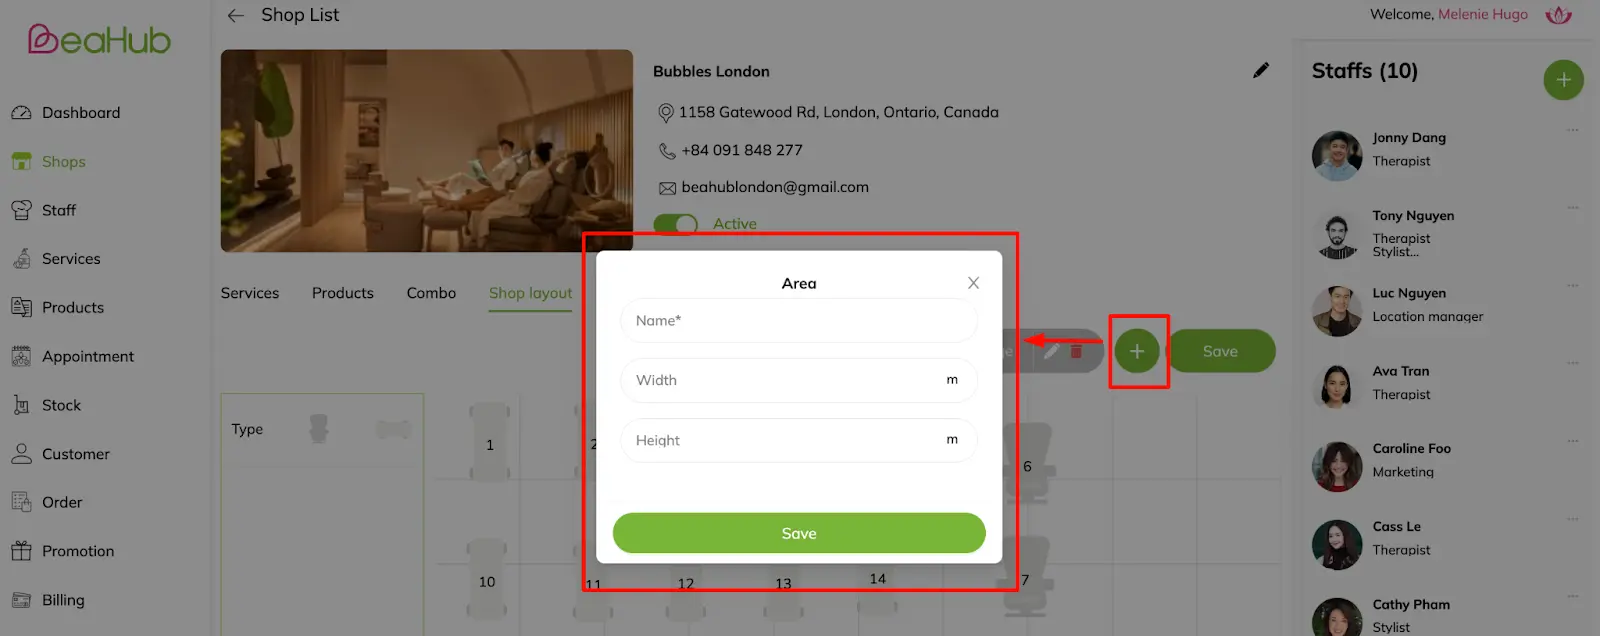
Add an area for the shop: Click Add button > Input area name, width & height > Click Save
7. On Shop detail page, click Add button on Staff section to open the Staff popup and select staff to add in the shop (List of staff names with roles)
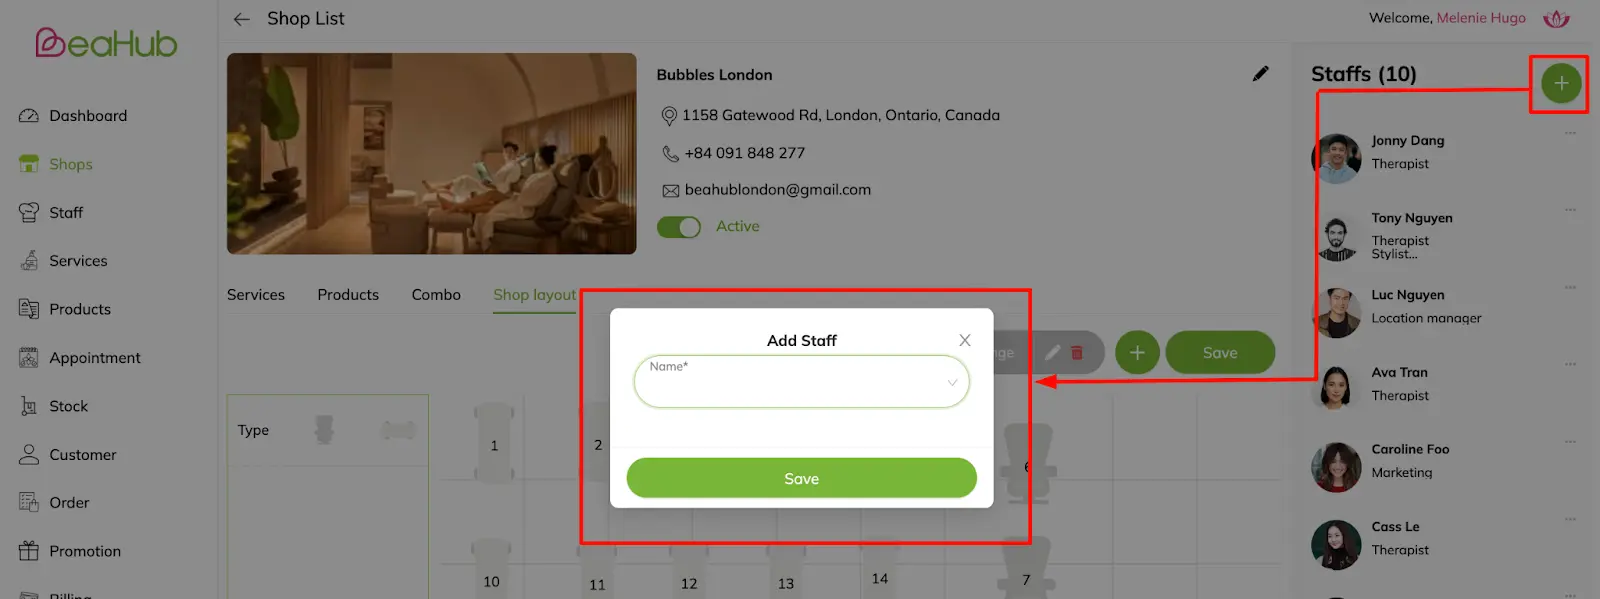
Add staff to the shop: Click Add button > Select staff > Click Save
Delete Locations
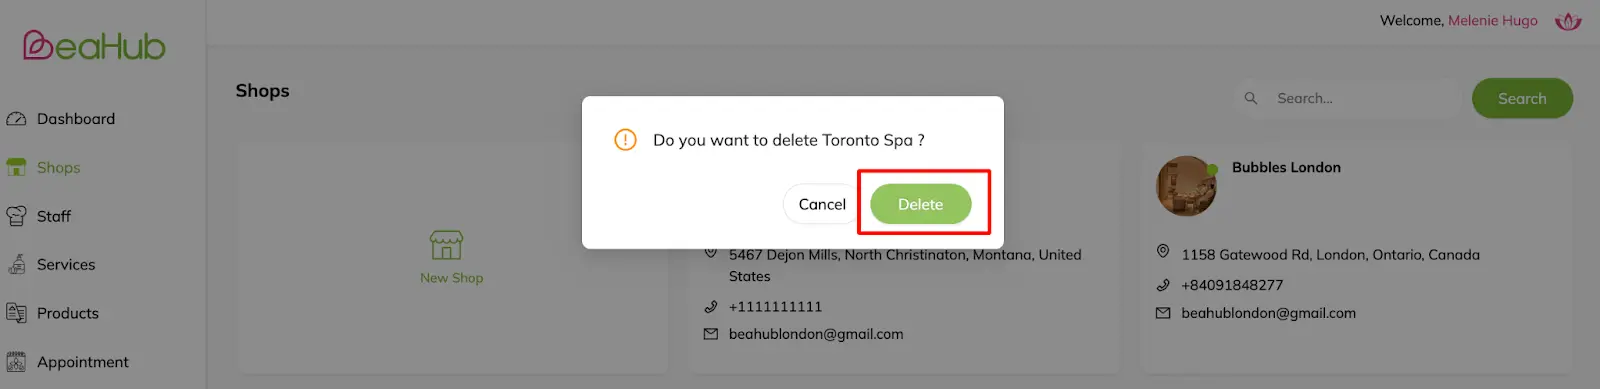
1. On Shops listing page, click Delete button to open the delete confirmation popup
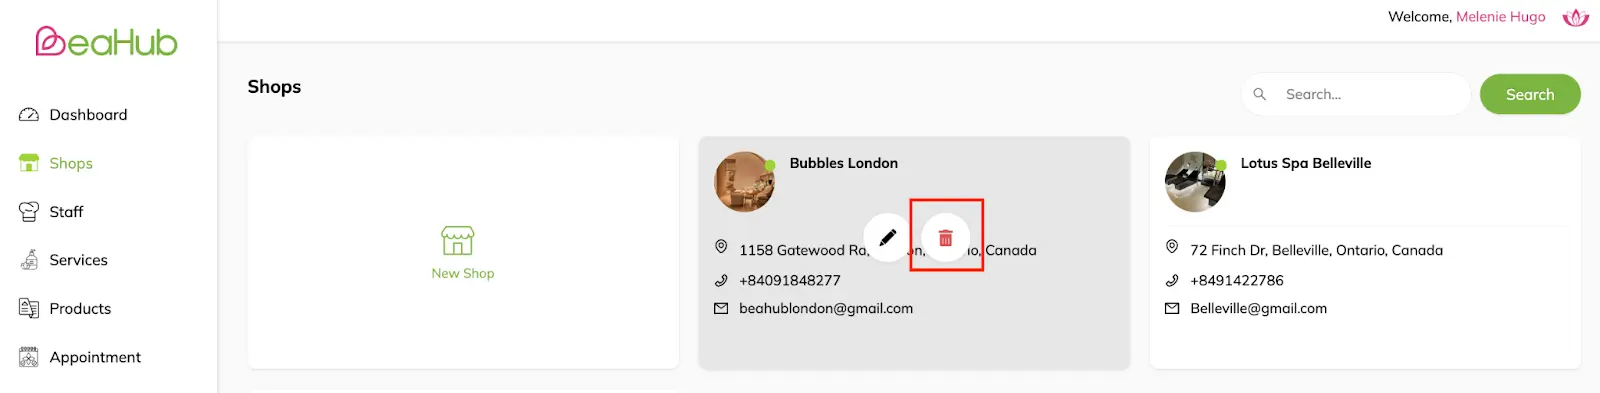
2. On Delete confirmation popup, click Delete to delete a shop/location